Azure Passhub Deployment
If you would like to run a self hosted Passhub For Business that runs inside of Azure you may begin here.
You have 2 options:
- Follow along this documentation while you deploy Passhub For Business using Azure Marketplace
- Use this Video tutorial on YouTube as a guide
Azure Marketplace
There are 2 ways to install Passhub For Business using Azure:
- Manually installing Passhub For Business on Azure Resources (Virtual Machines, DNS, Firewall, etc)
- Using Azure Marketplace to deploy Passhub For Business
We will be using Azure Marketplace to setup Passhub For Business
1. Passhub on Azure Marketplace
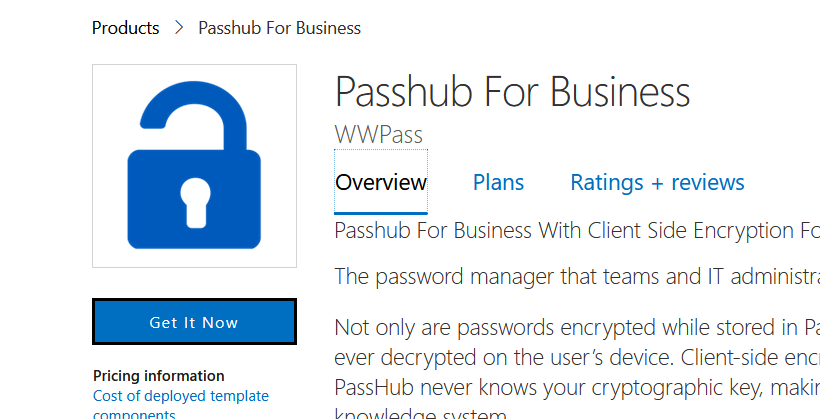
You may search for Passhub on the Azure Marketplace or click this link to Passhub on Azure Marketplace
Click on get it now:
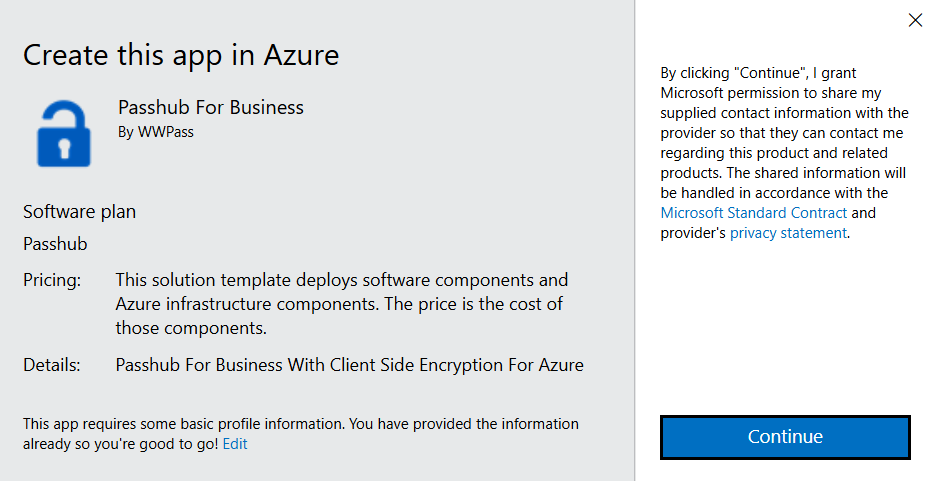
Then click Continue:
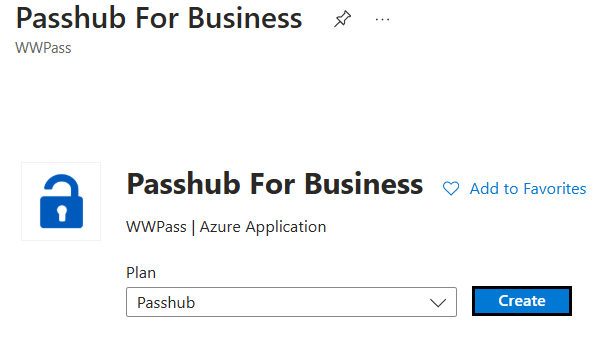
Finally click Create:
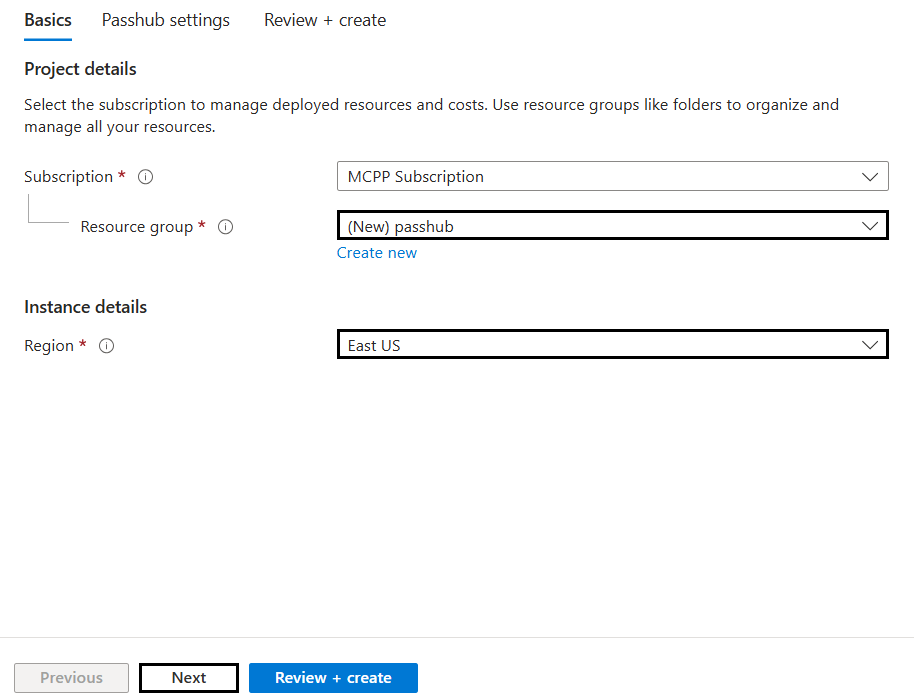
2. Passhub Deployment Settings
Now create or use an existing resource group, choose your desired region then click Next
Here are the settings required for Passhub itself and for Azure specific resources:
Please add an
- Admin Username for Virtual Machine Login
- Password for Virtual Machine Login
- Subdomain that Passhub will be hosted at. Example: [subdomain].eastus.cloudapp.azure.com
- Azure Virtual Machine Type
- Disk Size in Gigabytes
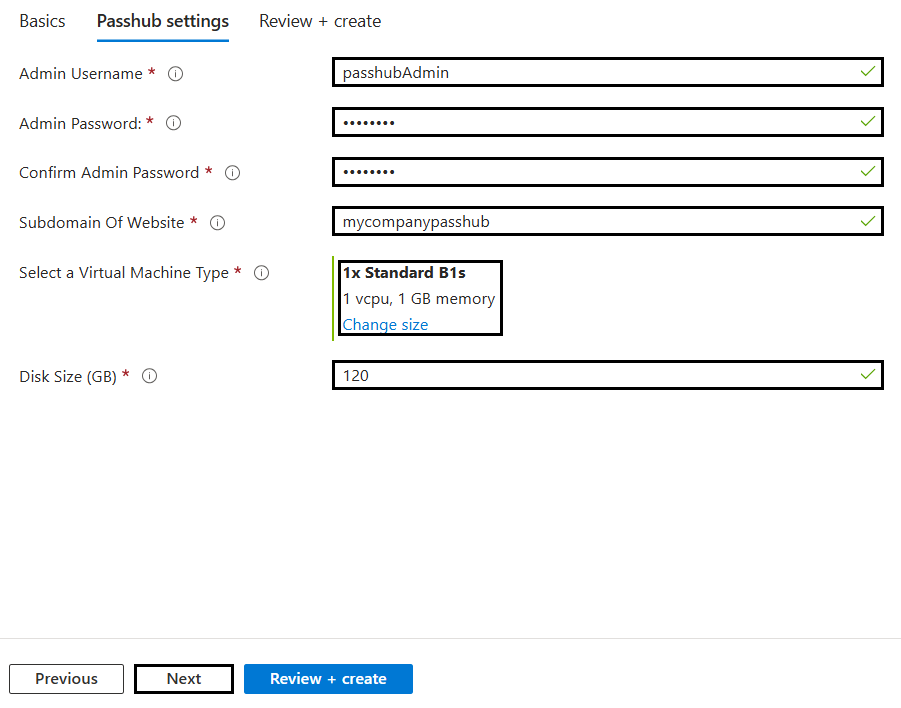
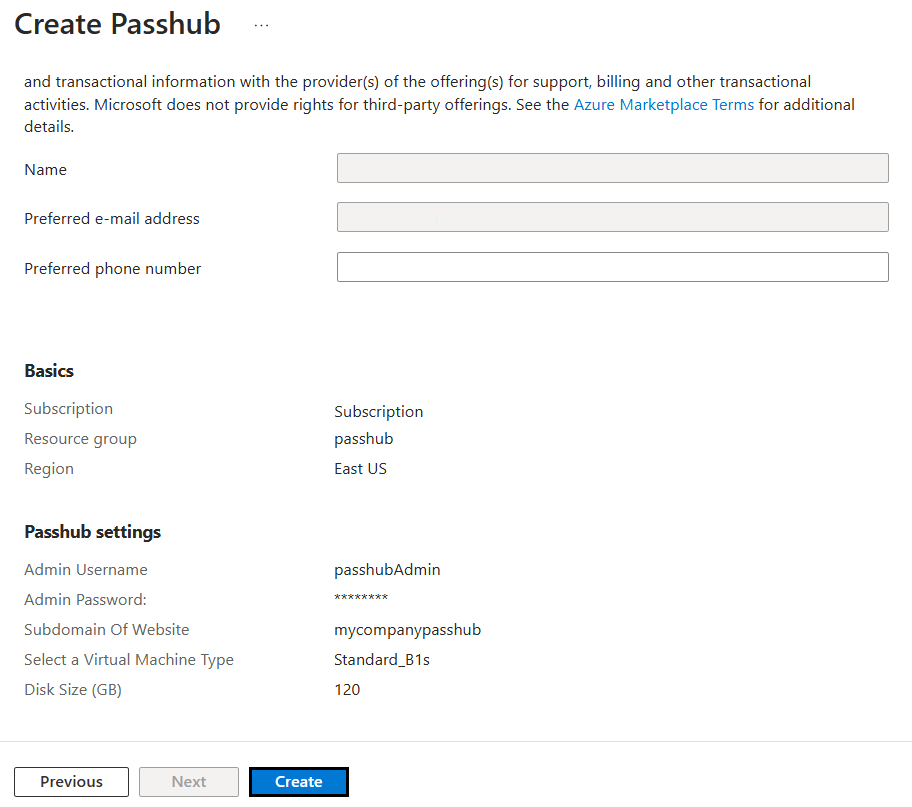
Now click next, double check all the settings pass validation and you may click Create
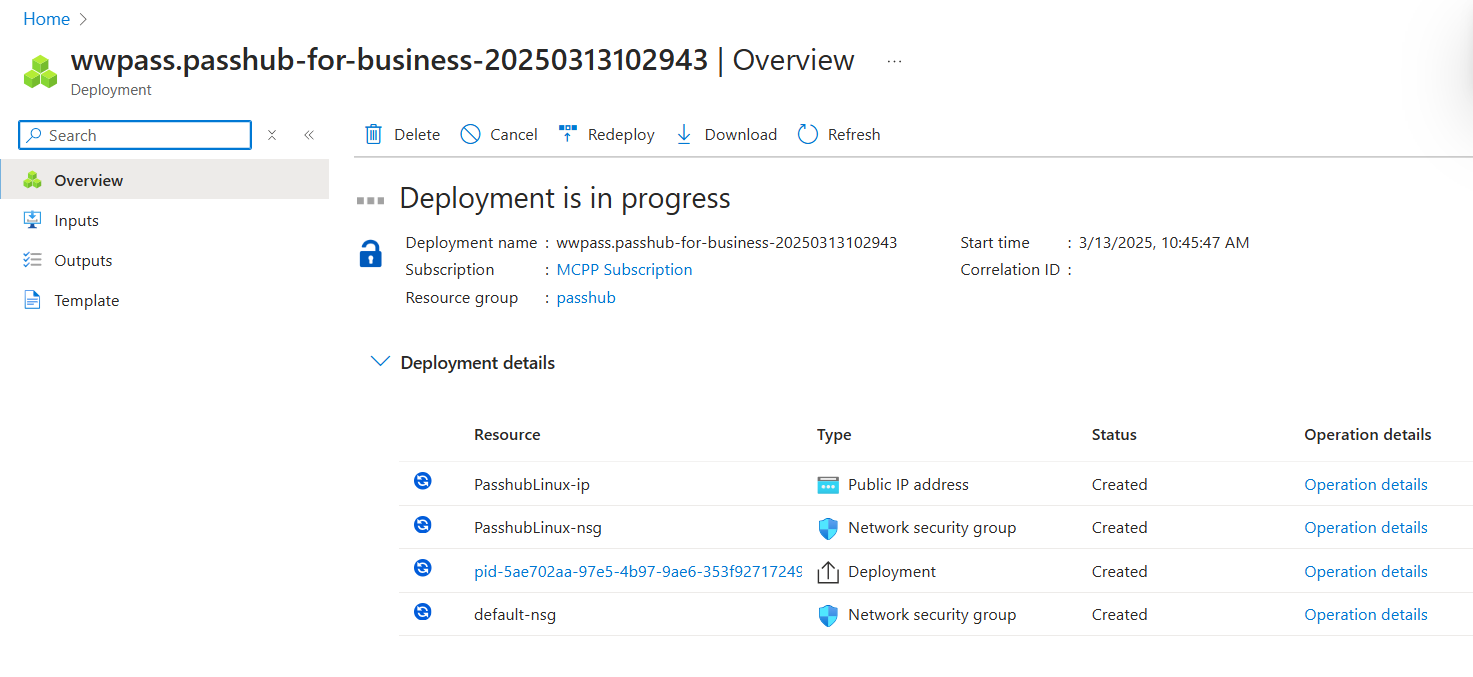
It takes around 8-12 minutes to deploy Passhub depending on the machine size you selected and based on how available Azure Resources are in the current moment
3. Login to Azure Virtual Machine
Login to your Virtual Machine using SSH and using the Admin Username and Password you created
It will now ask for this prompt:
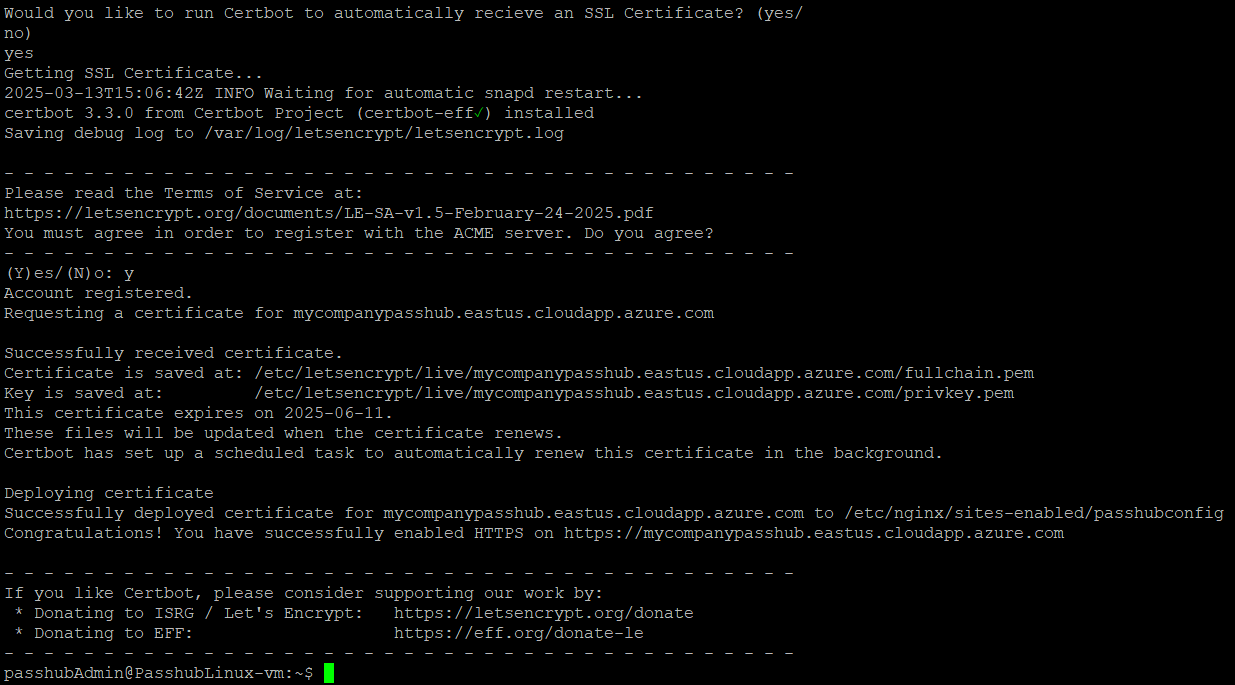
If you would like an automatic SSL certificate and Azure does not provide one then type in Yes
Note: If you do not want to use Certbot to create an SSL certificate for you please note that Passhub requires a HTTPS connection to function
Note: On next login CertBot will not ask automatically, however if you would like to run CertBot forcefully then do:
sudo ./var/www/passhubAzure/passhub-deployment-scripts/04-certbot.sh passhubAdmin eastus
Note: Replace "passhubAdmin" with your Linux Admin Username and replace "eastus" with your region that you chose for your Resource Group in Azure
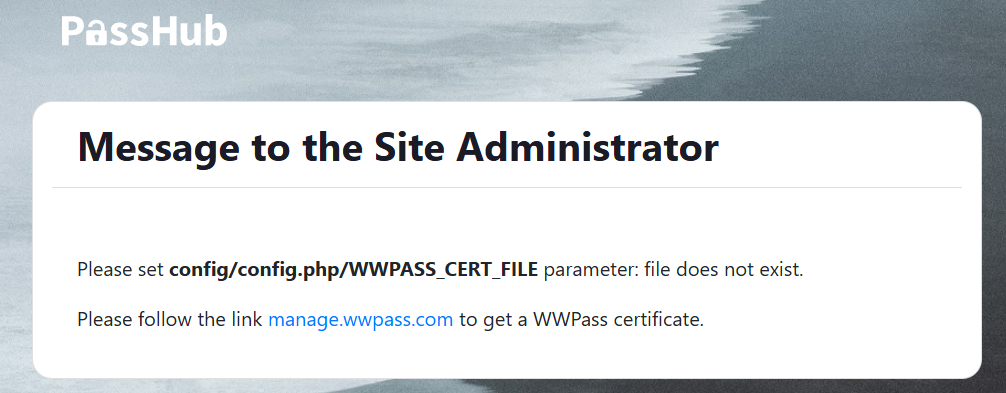
Now go to your deployed Passhub. Example: https://mycompanypasshub.eastus.cloudapp.azure.com and it will say this
Note: The Virtual Machine is yours to use and you may change any configuration you want, for example: nginx, Passhub, etc.
WWPass Management Site
This is the WWPass Developer/Management Site for all your WWPass resources. Passhub relies on a WWPass certificate to function, here is also where you are able to pay for your Passhub Subscription
1. Create New Application
Go to WWPass Management then create an account and login using your WWPass Key App on your phone
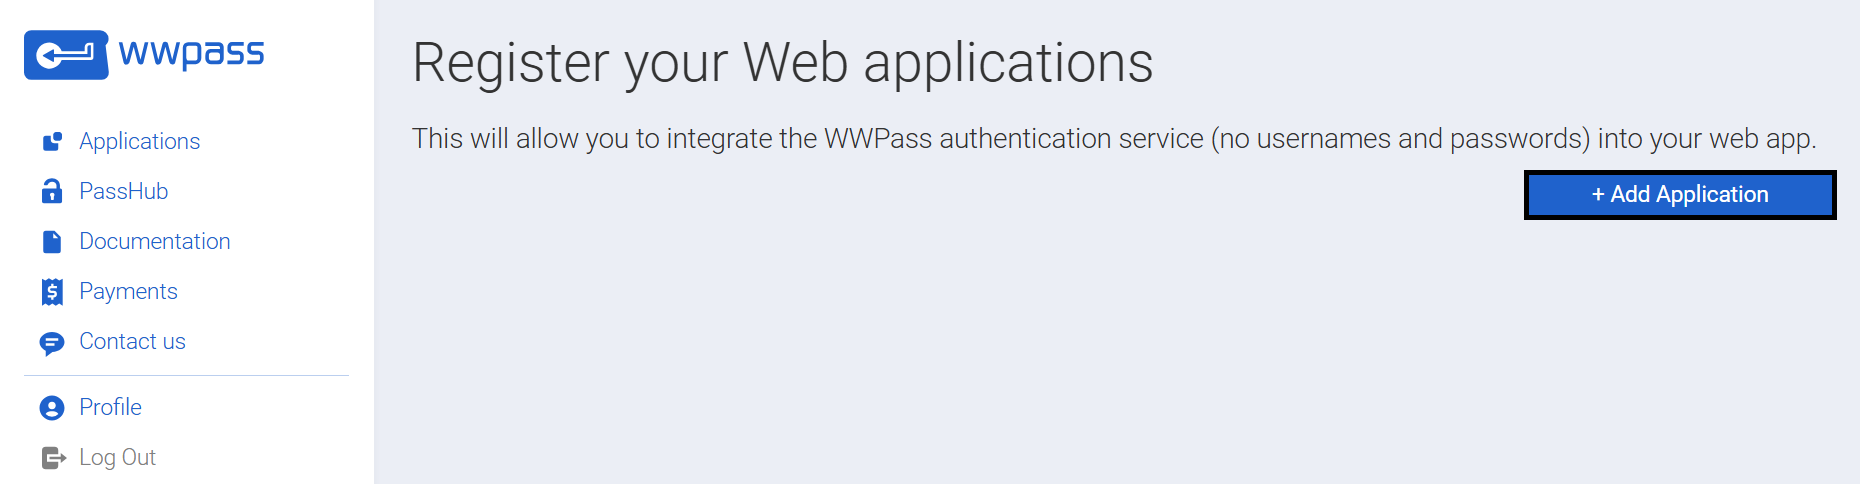
Now Click on Add Application. This will let you register the domain with WWPass Authentication Services to get the WWPass Certificate required for your Local Instance of Passhub
2. Creating WWPass Certificate
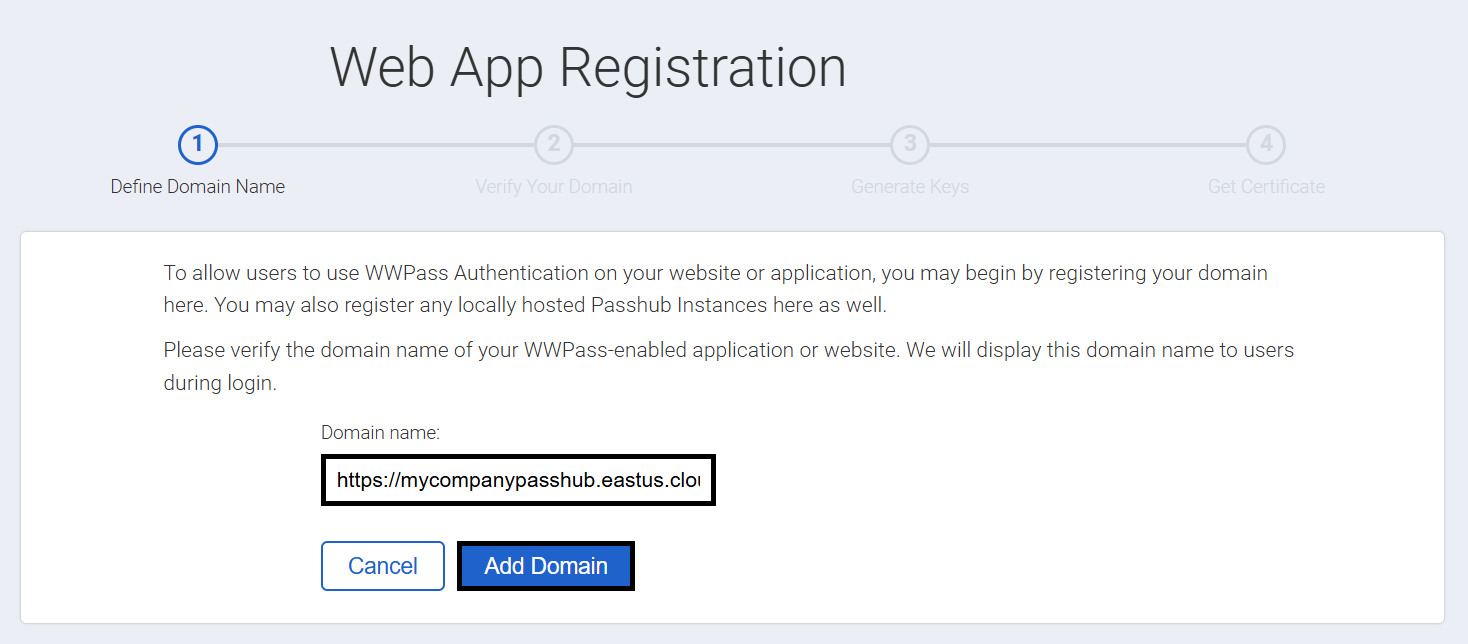
Step 1: Write the entire web address name for example: https://mycompanypasshub.eastus.cloudapp.azure.com
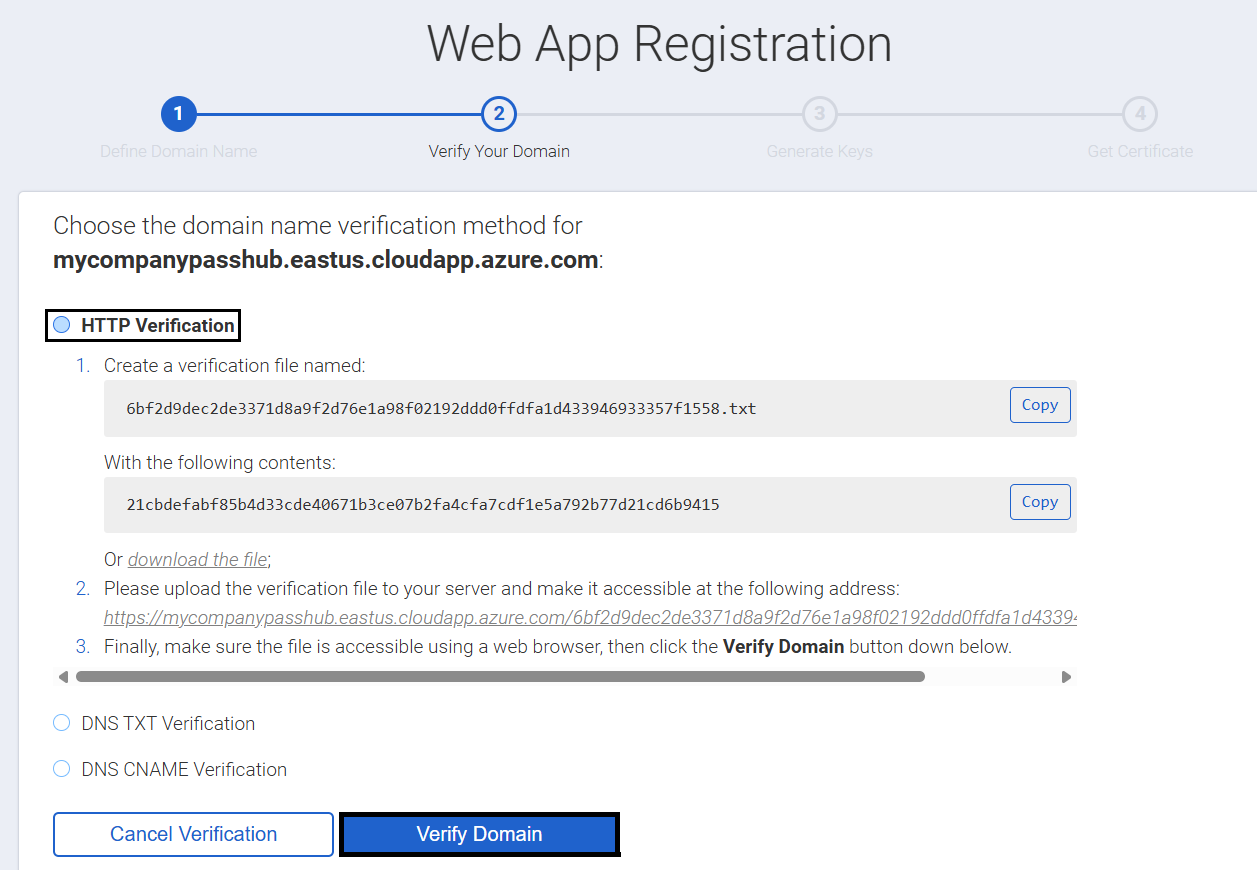
Step 2: Choose HTTPS verification as it works best with Azure. Follow along the steps it provides:
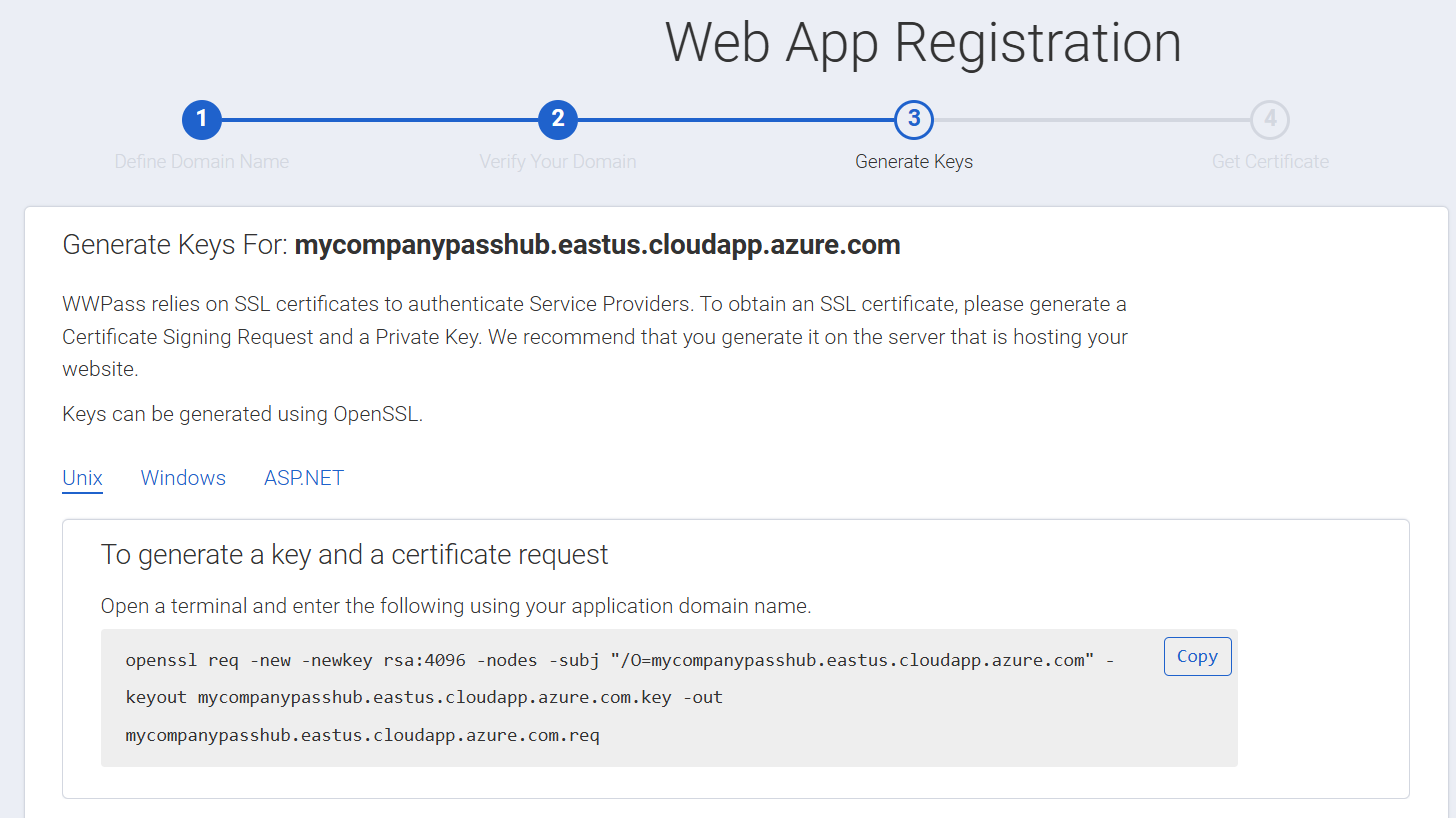
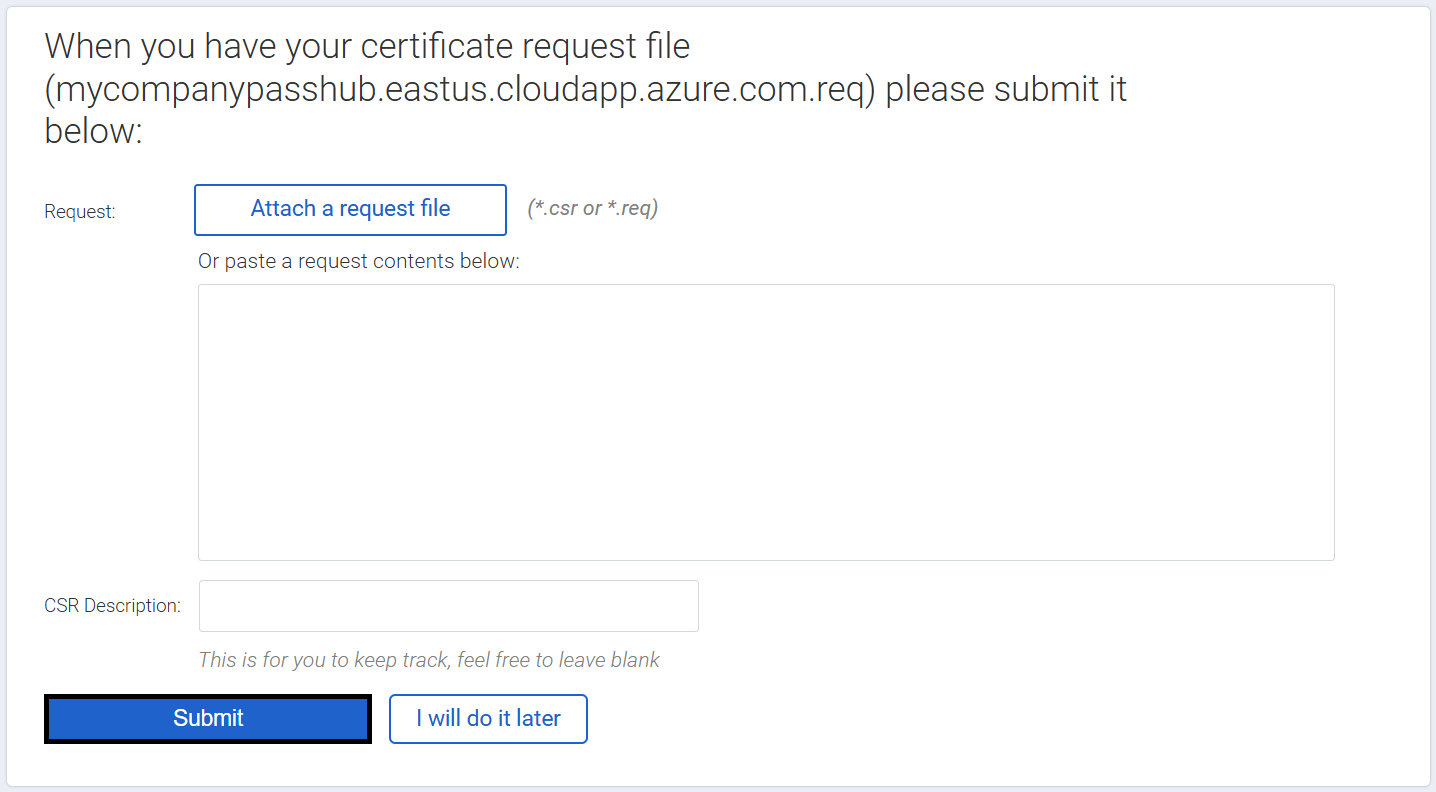
Step 3: Here you will generate a Key and Certificate Request for your Local Instance of Passhub, Follow along the steps it provides, then click Submit:
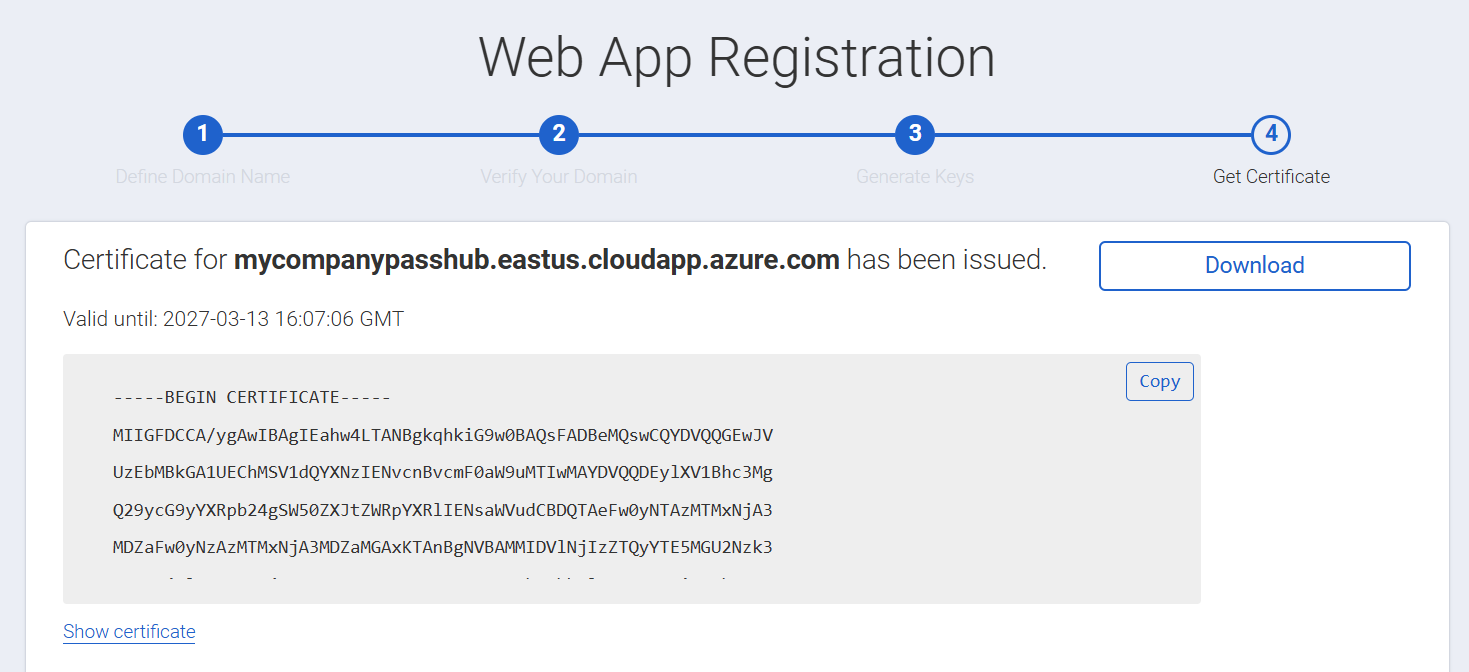
Step 4: Obtain the crt file and move both the Private Key you create and the .crt into /etc/ssl so that Passhub may read them.

3. Azure User Management (Entra ID)
Your Local Instance of Passhub is ready to go and you may now create an account.
If you would like to manage users of Passhub through Azure instead of Passhub's built in User Management then you may follow this document explaining how to use Entra ID with Microsoft Graph API for Passhub User management.